امنیت، هویت، استقرار و تابآوری · فصل ۹ — Resource، Provider، Cost و Organizational Failure · 124
GPU Overload/OOM
Diagnose GPU overload/OOM from allocation errors, framebuffer headroom, utilization, request shape and concurrency evidence; separate capacity saturation from memory-allocation failure and adjacent host/resource failures; choose bounded admission, batching or capacity containment; and prove recovery with a changed-load rerun rather than one green request. میتواند failure family «GPU Overload/OOM» را بازتولید/تشخیص دهد و detection، containment و recovery مناسب را تعیین کند.
Lesson summary
Diagnose GPU overload/OOM from allocation errors, framebuffer headroom, utilization, request shape and concurrency evidence; separate capacity saturation from memory-allocation failure and adjacent host/resource failures; choose bounded admission, batching or capacity containment; and prove recovery with a changed-load rerun rather than one green request.
میتواند failure family «GPU Overload/OOM» را بازتولید/تشخیص دهد و detection، containment و recovery مناسب را تعیین کند.
This lesson produces
میتواند failure family «GPU Overload/OOM» را بازتولید/تشخیص دهد و detection، containment و recovery مناسب را تعیین کند.
Who it is for
Foundation
Use a guided boundary matrix and one explicit ambiguity repair.
Repair
Re-run only the failed evidence dimension with a smaller deterministic synthetic case.
Experienced
Start from mixed evidence; require competing explanations, negative evidence and transfer.
Prerequisites
1. GPU slowness or high utilization does not prove OOM
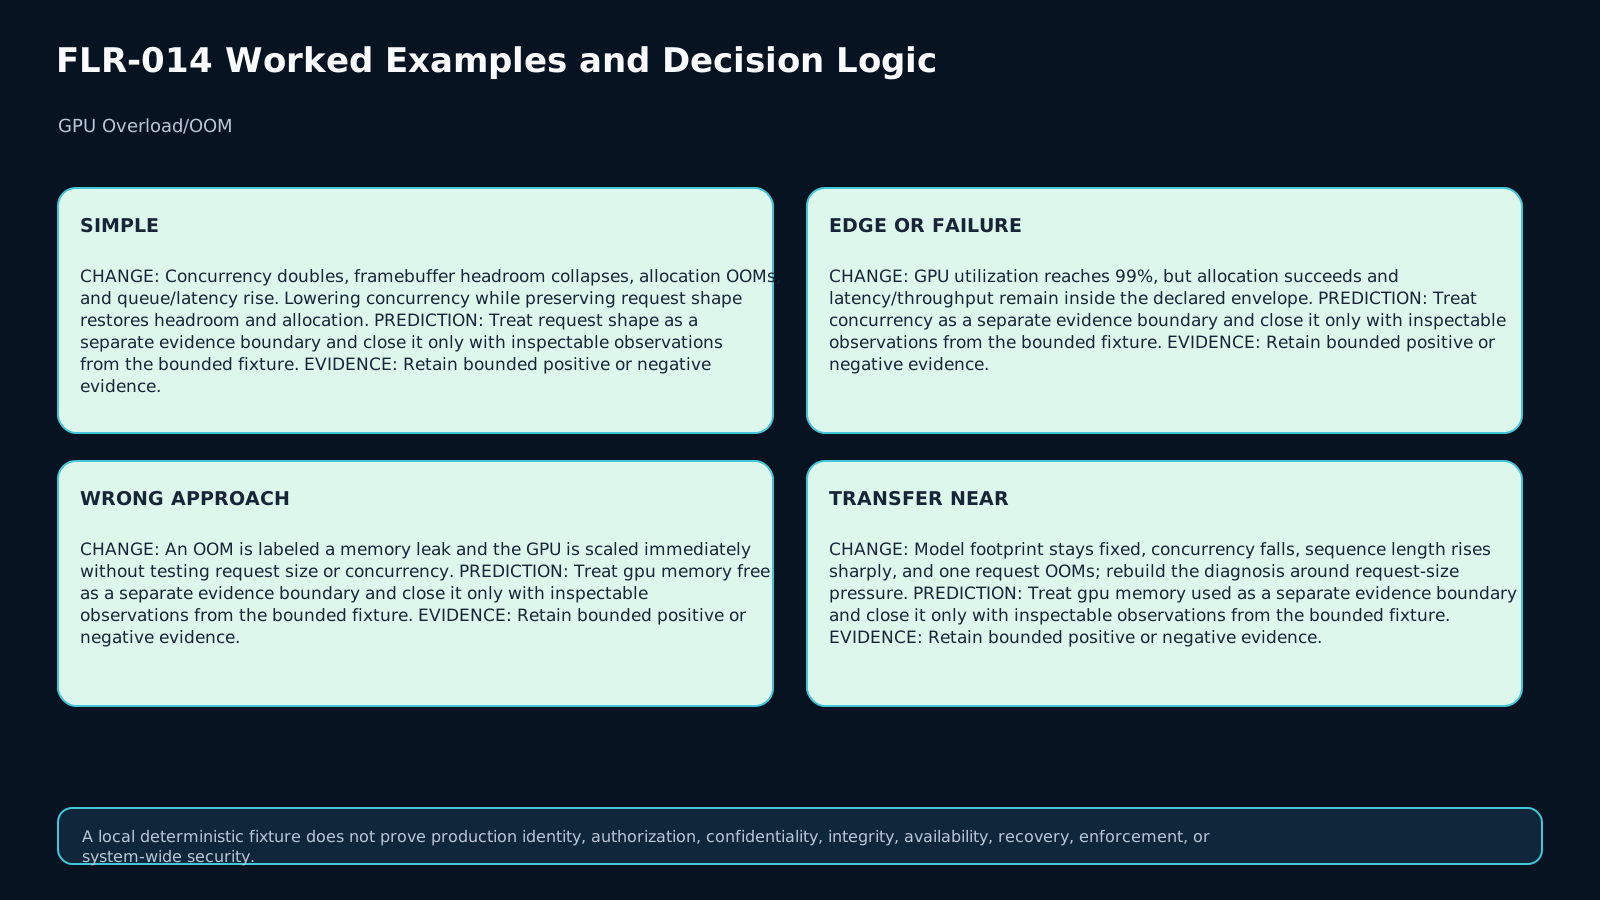
A GPU-backed workload can reach 99% utilization and still be healthy. Conversely, a large request or a concurrency burst can fail an allocation even when utilization alone does not explain the failure. Start with allocation outcome, framebuffer memory, request shape, concurrency, latency, and throughput rather than a single graph.
2. Define the evidence boundary before treating the problem
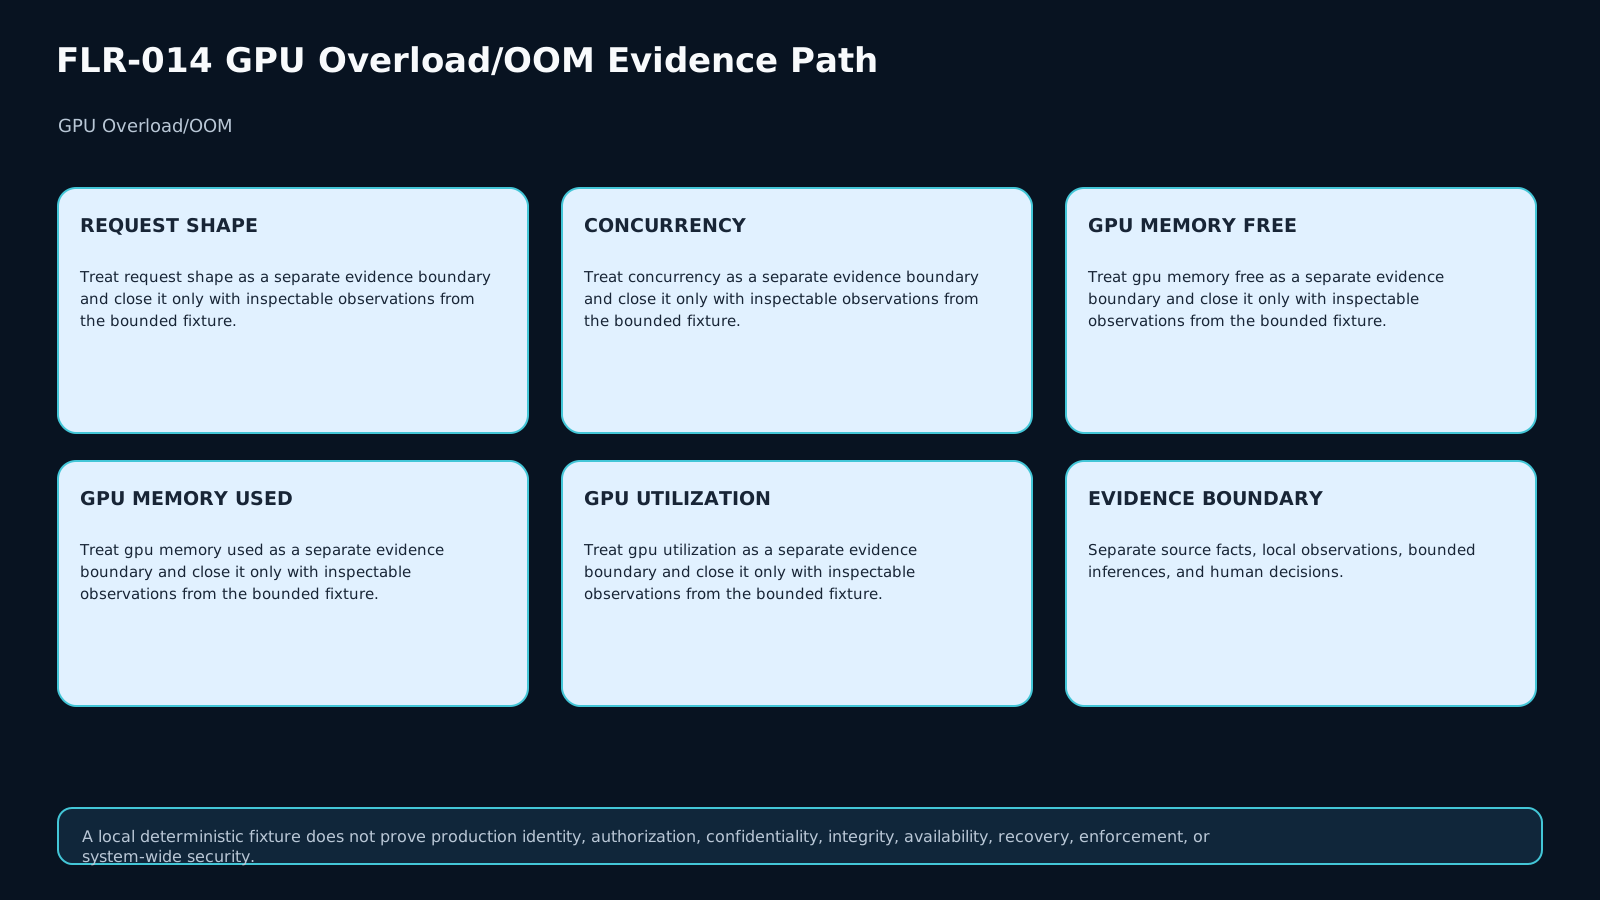
For each run, record model footprint, batch or request shape, sequence length, concurrency, framebuffer total/used/free, GPU utilization, allocation result, queue depth, latency, and throughput. Label each decisive statement as direct observation, authority, inference, or UNKNOWN. Missing evidence must remain open.
3. High GPU utilization is not the same as memory exhaustion
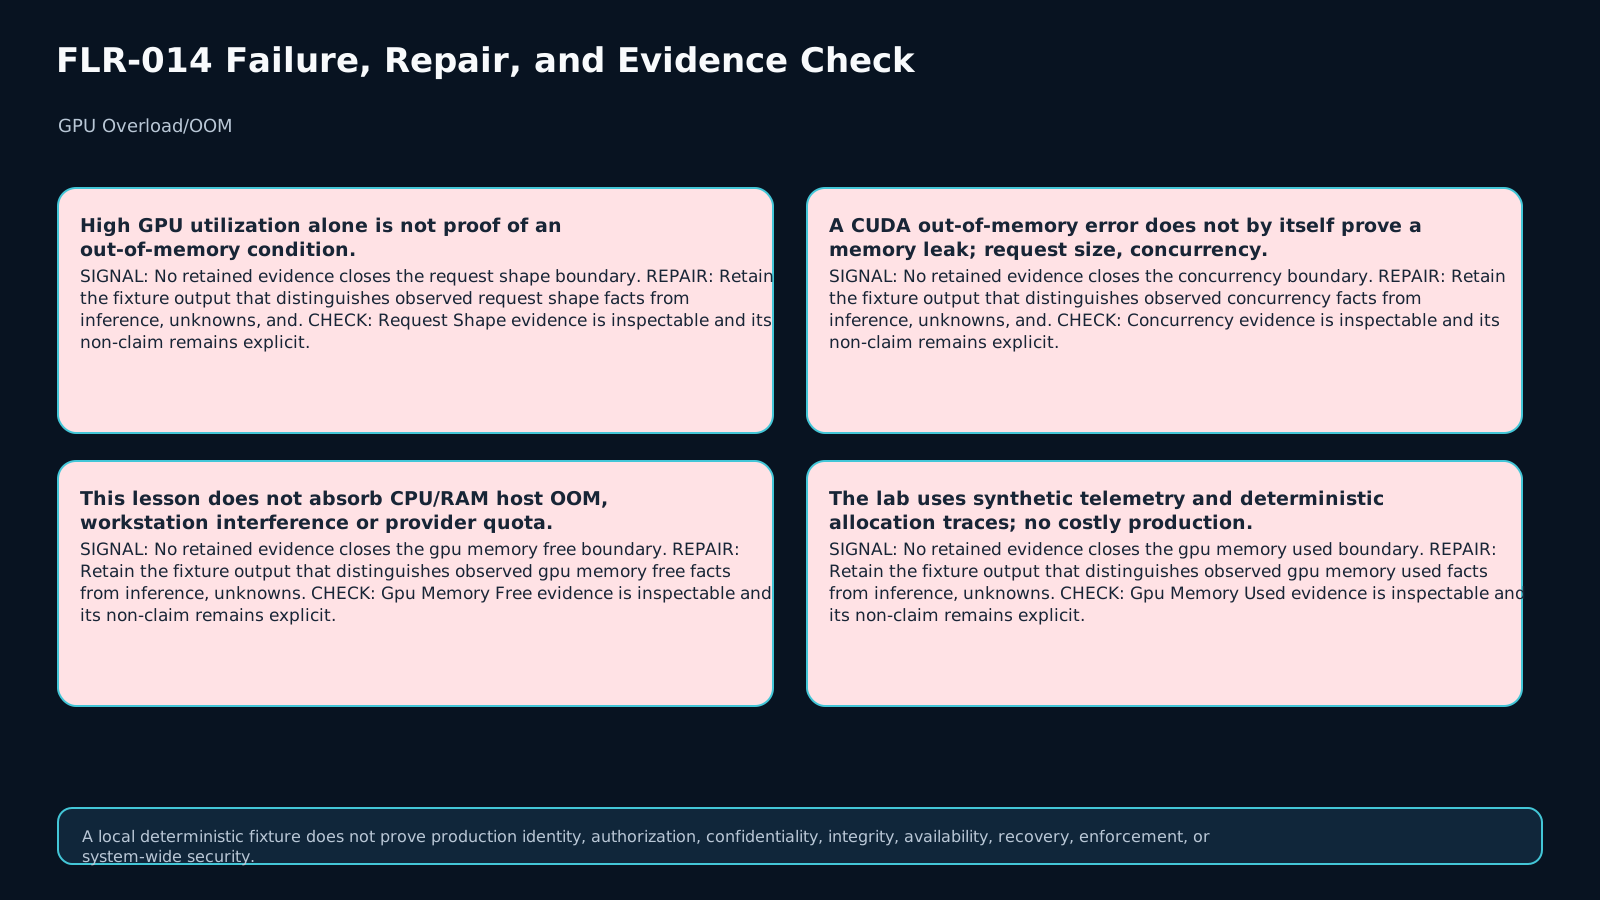
Utilization shows how busy the GPU is; it does not prove that memory allocation failed. A negative control can have very high utilization, successful allocation, and latency inside the SLO. “GPU is near 100%” is therefore a compute/capacity signal, not an OOM verdict.
4. Observe framebuffer headroom separately from compute saturation
NVIDIA telemetry exposes framebuffer memory free/used/total separately from GPU utilization. Low headroom becomes stronger evidence when it aligns with allocation failure and a load change. Even then, headroom alone is not complete causal proof; request shape and concurrency still matter.
5. cudaErrorMemoryAllocation bounds the error, not the application root cause
CUDA Runtime defines cudaErrorMemoryAllocation as a failure to allocate enough memory or other resources for the requested operation. The error does not prove a memory leak. Oversized requests, concurrency bursts, allocator state, fragmentation hypotheses, and fixed model footprint can create different paths to the same allocation failure.
6. Request shape and concurrency are different pressure levers
With a fixed model footprint, increasing sequence length or batch size can raise memory demand per request, while increasing concurrency can place multiple allocations on the same capacity at once. Change these dimensions separately. If lowering concurrency closes the failure with request shape unchanged, concurrency pressure becomes more plausible; if one large request OOMs at low concurrency, request-size pressure becomes more plausible.
7. Queue, latency, and throughput tell you when the problem is not simply memory
Rising queue depth and latency can come from compute saturation, poor admission, or a bottleneck outside the GPU. If GPU utilization is moderate, allocation succeeds, and the queue still grows, do not force the case into GPU OOM. Keep the classification as NON_GPU_BOTTLENECK or GPU_CAPACITY_UNRESOLVED until stronger evidence arrives.
8. GPU Capacity Failure Diagnosis & Recovery Record v1
The owned artifact records request shape, concurrency, framebuffer headroom, utilization, allocation result, queue depth, latency, throughput, capacity hypothesis, negative control, containment action, closure probe, and residual risk. Its purpose is auditability: what is proven, what was rejected, and what remains open.
9. Build at least two competing explanations
When you see OOM or a stall, do not write only one explanation. Compare concurrency memory pressure against an oversized request, or compute saturation without OOM. Then run a contrast probe that changes one boundary. Strong diagnosis rejects at least one alternative with negative evidence.
10. A negative control defeats one-signal diagnosis
One fixture deliberately has 99% utilization, successful allocation, and performance inside the envelope. If a classifier calls it OOM or capacity failure, the logic is overfit to utilization. The negative control demonstrates why joint evidence is required.
11. Containment must be bounded, reversible, and evidence-matched
Concurrency pressure can justify an admission or concurrency cap. An oversized request can justify a request budget, sequence-length limit, or batch adjustment. Compute saturation without OOM can justify queue, batching, or capacity review. Batching is not automatically a fix and can increase memory demand, so every change needs a bounded post-change measurement.
12. Containment is not recovery closure
One green request after a configuration change is insufficient. Closure requires a changed-load rerun showing successful allocation, restored declared headroom, latency inside the SLO, throughput above its minimum, and no recurrence under replay. If the symptom disappears but performance or headroom remains invalid, keep the state open.
13. Lab classifications
The lab uses CAPACITY_HEALTHY, HIGH_UTILIZATION_NO_FAILURE, CONCURRENCY_MEMORY_PRESSURE, REQUEST_SIZE_MEMORY_PRESSURE, COMPUTE_SATURATION_NO_OOM, NON_GPU_BOTTLENECK, and GPU_CAPACITY_UNRESOLVED. None is selected from utilization alone; allocation, headroom, request/concurrency identity, and performance are read together.
14. Lab: eight fixtures and 64 assertions
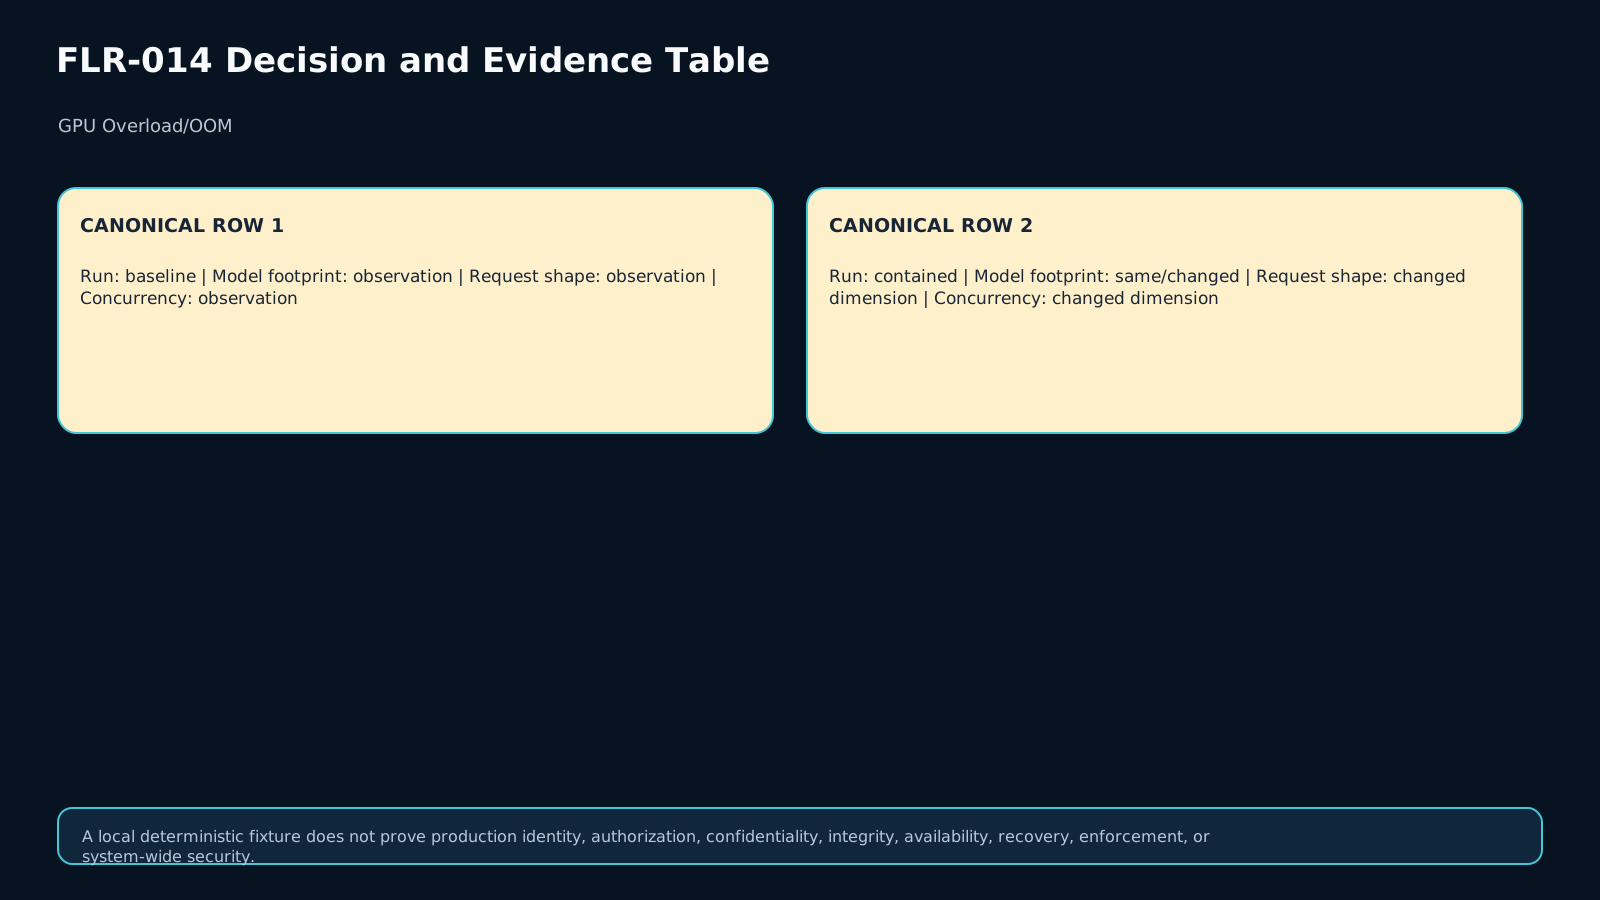
Eight deterministic fixtures cover a healthy baseline, a high-utilization negative control, open concurrency OOM, closed concurrency OOM, a single oversized request, compute saturation without OOM, a non-GPU bottleneck, and an ambiguous OOM. The evaluator emits eight fields per case, giving exactly 64 administrative assertions. No real GPU is required.
15. Exit checklist and transfer
Before exit, identify where allocation failed, the framebuffer headroom, how request shape and concurrency contributed, which alternative was rejected, the chosen containment, and the changed-load rerun that proved closure. In transfer, the model footprint stays fixed while sequence length rises and concurrency falls; if the dominant boundary moves from concurrency to request size, the diagnosis and containment must move with it.
Assessment
There is no answer key in this lesson pack; answer it yourself and mark honestly. "Needs review" sends the lesson to your review queue.
Q1 retrieval
Why is 99% GPU utilization not enough to diagnose OOM?
Q2 application
Concurrency doubles, framebuffer free memory collapses, and allocation returns OOM. What evidence should be changed first to test concurrency pressure?
Q3 diagnosis
A single long request OOMs at concurrency 1 while the same model handles shorter requests. Which boundary becomes more plausible?
Q4 decision
After a concurrency cap, allocation succeeds but throughput falls below the declared minimum. Is recovery closed?
Q5 transfer
GPU utilization is moderate, allocation succeeds, but queue and latency rise sharply. What should the GPU-OOM classifier do?
Assessment rubric
A sufficient response preserves the GPU-capacity boundary and does not convert a single utilization or error signal into a complete root cause.
- Boundary and evidence — critical: ties the classification to allocation, memory headroom, request shape/concurrency, and performance evidence.
- Discrimination — critical: rejects at least one plausible alternative or keeps the case explicitly unresolved.
- Bounded containment — critical: selects admission, request, batching/queue, or capacity actions that match the observed boundary and remain reversible.
- Closure — critical: changed-load replay succeeds on allocation, declared headroom, latency SLO, and minimum throughput.
- Transfer — critical: changed request/concurrency evidence produces a fresh diagnosis rather than a copied label.
Any missing critical dimension is insufficient even when the narrative sounds confident.
References & freshness
Case studies
Lesson visuals
Lab files
Use the eight synthetic cases to implement an evidence-bounded evaluate(case) function. Do not infer OOM from utilization alone. Your output should distinguish allocation state, memory headroom, dominant boundary, containment, closure, performance, and next action.
A strong solution keeps ambiguous OOM cases unresolved, recognizes the high-utilization negative control, and changes its diagnosis when sequence length rises while concurrency falls. No external GPU or network access is required.
Lesson media & slides
Teaching files (download)